Wednesday 19 March 2014

Stumpy Test 004


So I decided that I would make Stumpy jump without thinking too much about how to do it and testing anything out and just launched full pelt into the animating. I recorded a quick video of myself performing a spectacular leap into the air and used it as a rough guide. Now using Dragonframe this was super easy to add in and move around to sync it to where I wanted it to be in relation to my animated frames which came in handy twice during this shoot. In the image below you can see Dragonframe open with my line up layer and frames and the x-sheet on the right that I was using to put some frames onto 2’s as I shot this jump at 25 frames per second.


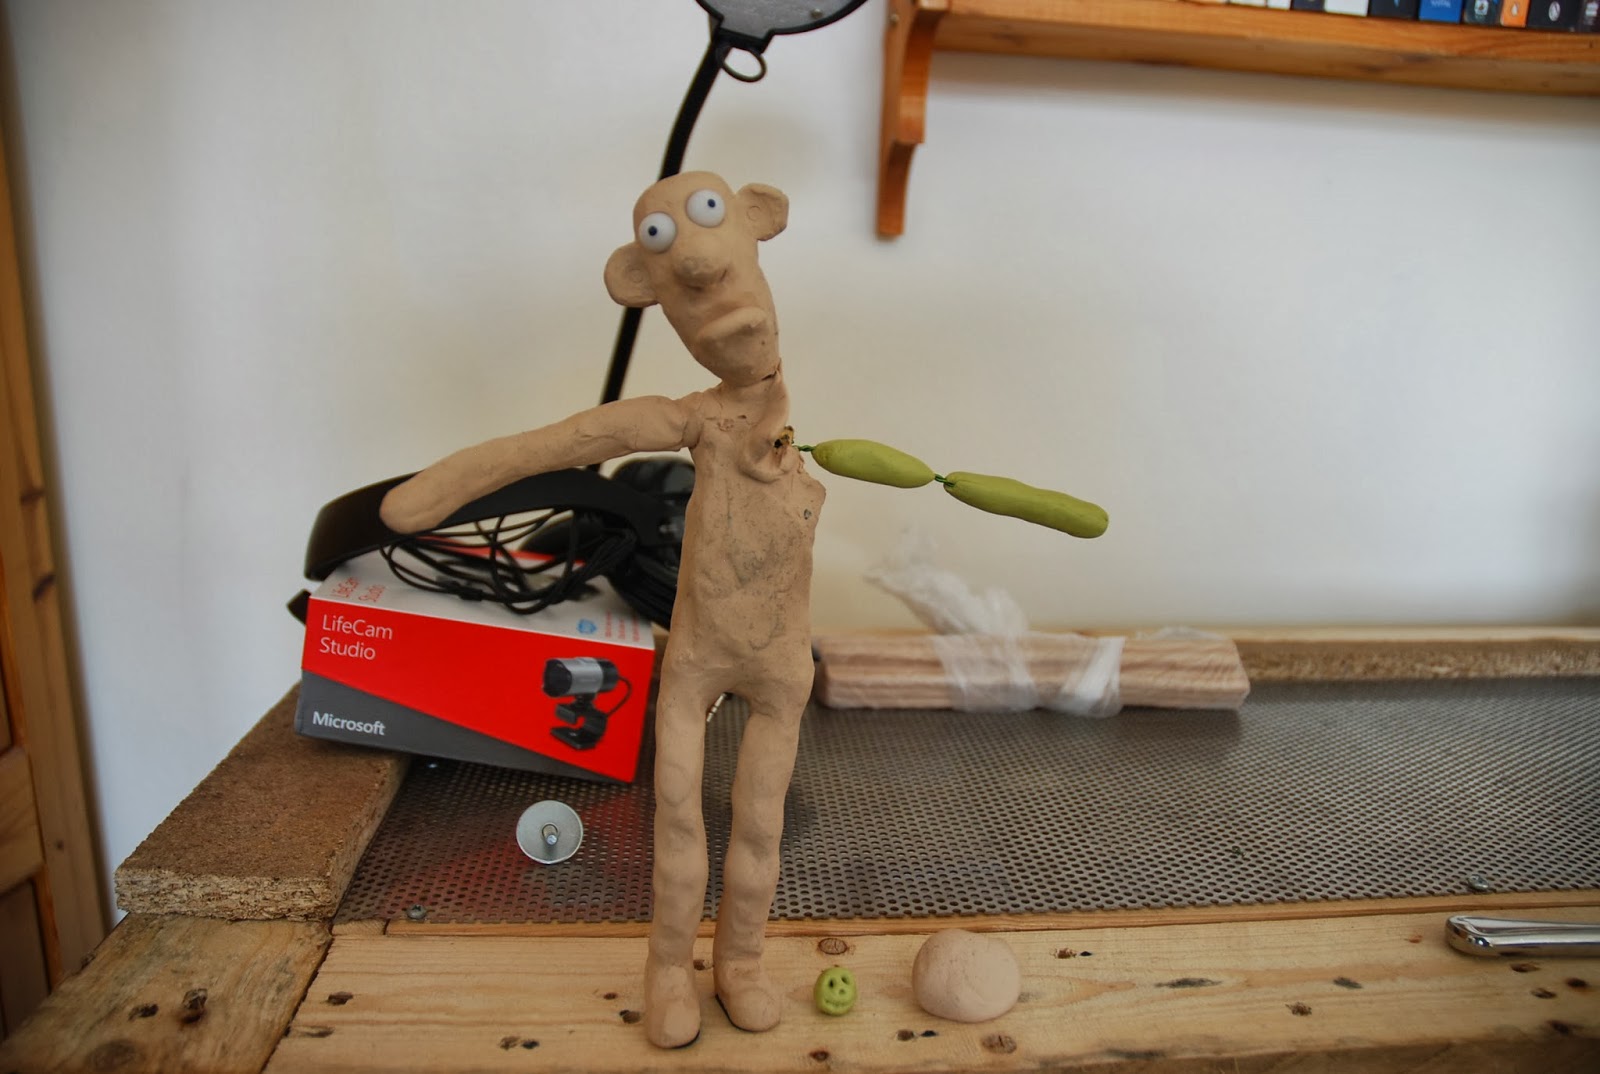
The rig was quite a pain during this test and as it’s just made from wire the knees and hips and anything that fancied it would just go off in all directions instead of just bending in a straight line. I was constantly pushing the knees back into position and making sure that the hips stayed in a relatively straight line as they went down into the anticipation position. Everything was going pretty smoothly until the actual jump and I suddenly realised that the rig I’ve got a) doesn’t fit into the wire rig so I just had to smush it into his flesh b) stumpy is waaayyy too heavy for the rig being full on plasticine c) needed tightening d) didn’t really stick to the metal sheet with just the magnets I’ve got so needed some blue tack as well. But after I fixed all of those problems mid shoot and then lined up Stumpy again the actual in air poses weren’t too difficult, I just had to over shoot the move as the rig would then sag and bend with the weight of stumpy when I let go.


During the descent I forgot what the right arm was up to and he goes a bit all over the place but generally it all went alright. Unfortunately as this test was shot over three days in small intervals last night I must have bumped into the camera in my sleep so the test had to be cut short he was going to finish up the arm movements that start towards the end in a gaining his balance again movement but at least the actual jump was finished so not all lost. The test is linked below, enjoy and let me know what you think


Friday 14 March 2014

Stumpy Test 003

After fixing Stumpy’s arm he was fit and healthy to start walking on his own two feet. This was the first time I’ve done a walk cycle for a long time and I forgot quite how hard some parts of it are! After trying to get Stumpy to balance at the midpoint I remembered I had a rig that I stuck into his back with some extra plasticine and it made everything a lot easier. I animated the walk on 1’s using the new Dragonframe software on my laptop that I learnt use on the Peppermint shoot. The software is amazing and does connect to my old dslr (Nikon D80) but as it is so old it doesn’t have a live feed so I stuck with the LifeCam studio webcam shooting at 1280x720 for Vimeo upload and it looks great. The bonus of Dragonframe is I can access the webcams setting through the software and adjust everything with the live view on Stumpy. This made for a much easier set up and during the shoot having the ability to flick back and forwards and use reference images and videos was amazing.  I am pretty happy with how the walk cycle turned out, as Stumpy’s rig has no toes he couldn’t quite reach his high point by stepping up onto his toes so I had to make do just slowing the high point to when his legs straighten up. The walk cycle is 25 frames in total using tie downs and was going to be a little longer but it got late and it all started to go wrong on frame 26 so I called it a night! I’m excited about using Dragonframe to really push what I can do with Stumpy on his limited set, check out the test below.


(a time-lapse I shot from my phone using the Aardman Animate It app)

(the time-lapse composited over the animation it's a bit fast)

Thursday 6 March 2014

Broken Arm


So I noticed during the last couple of animation tests that I've done with Stumpy that his left arm has been making a bunch of clicking noises and turns out when I stripped his plasticine flesh off that his wires are snapped and his arm was just being held on by the plasticine itself. So I scrubbed out all of the plasticine and then unscrewed the broken wires and made a new arm for him (unfortunately couldn’t salvage the milliput so have to wait 24 hours for the new "bones" to harden up.) He needs a bit of a clean as well as he is starting to sprout dusty chest hair, when his arm is hard I will probably just smush the plasticine around to warm him up for the tests and hide all the fluff!


Monday 3 March 2014

Julio Bashmore's Peppermint


Last month I got my first job in animation working on a music video for Julio Bashmore. The song is called Peppermint and was directed by Noah Harris for Colonel Blimp & Blinkink and shot at Prodigious Studios who also did most of the post production. I got to work with some amazing people and was incredibly nervous having looked up the rest of the team online before starting, I was one of four animators and did some shots together some with all of us involved and I got given some shots to do on my own.


It was a two week shoot with days starting around 7/8am and usually ending at about 2am luckily and also strangely time flies when you’re animating and I enjoyed every second of it. The shoot was my first time using Dragonframe as I used Stop Motion Pro for my graduate film Marionette but it was a very similar program and I picked it up quite fast. As the animation was all set to music there were some very keys moves that had to happen on certain frames so a lot of planning and timing went into the animation and we had elaborate reference videos taken from Noah’s after effect files to help us keep everything happening on time. The new thing for me about Peppermint was walking onto a lit and camera ready set and just getting ready to animate as with Marionette we did all of the lighting and camera work ourselves.


We also got awesome food delivered to the animation rooms which was amazing. Some of the elements in the film were 3D printed another new element that I had not worked with before so some background elements had 12 or 24 frame cycles that had been printed out and needed to be changed at the right times and beats with the song. The female face in the film also had replaceable mouths that I had to animate on numerous occasions with Dragonframe synced to the audio and the reference video helping get the right mouths into the right frames. Quite a few of the shots involved moving cameras as well, the shoot had a volo motion control camera that synced up to Dragonframe and moved with each frame that was set up before shot. We also had a couple of shots with manual tracks on where we just had to wind a lever to move the camera a very small amount each frame.


Overall the shoot was loads of fun and a massive learning curve for myself, but went really well and hopefully leads onto more work. The finished video looks amazing check it out below.